How to add a Zabbix Server
Zabbix Connection trough FireWall
What user rights are needed ?
How to define a Style
How to create a report
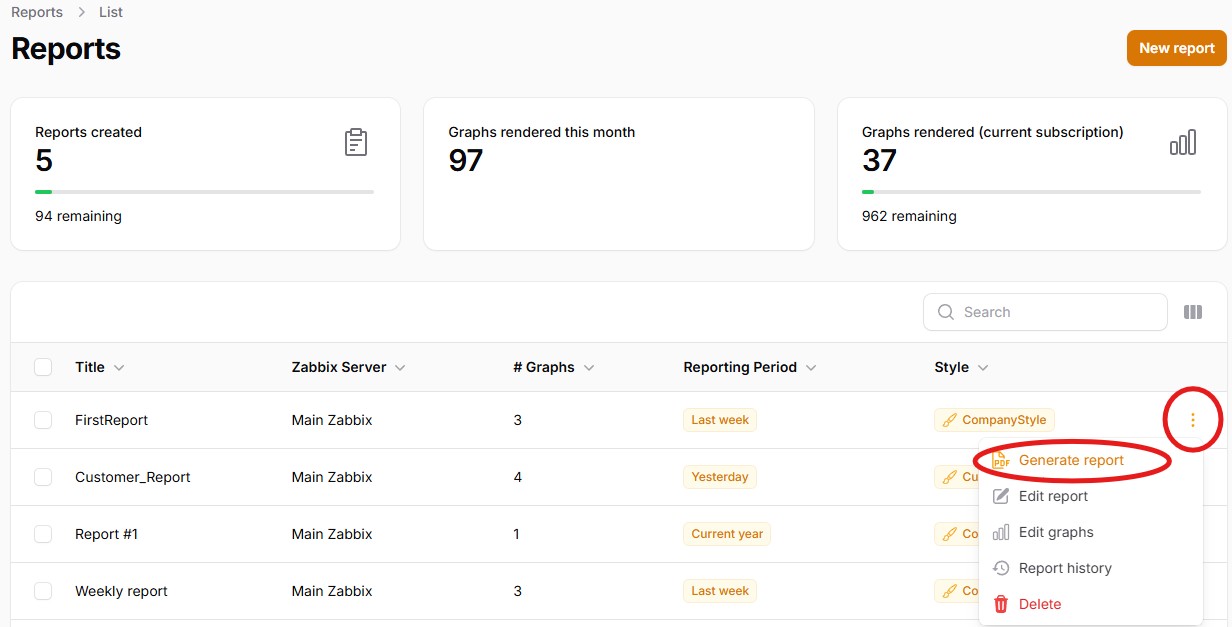
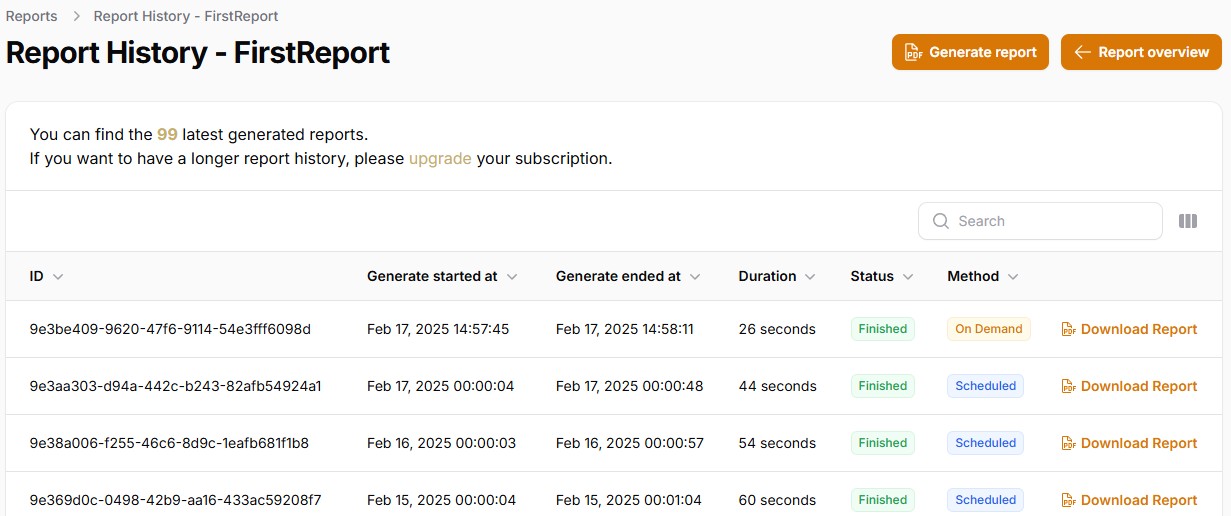
How to generate a report
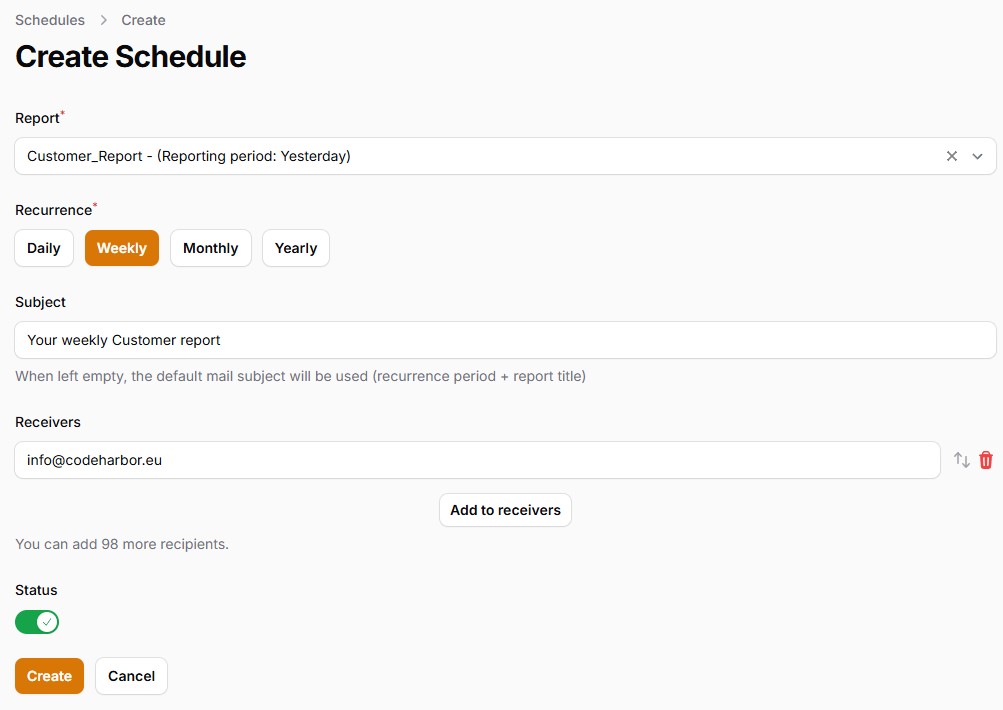
How to create a shedule
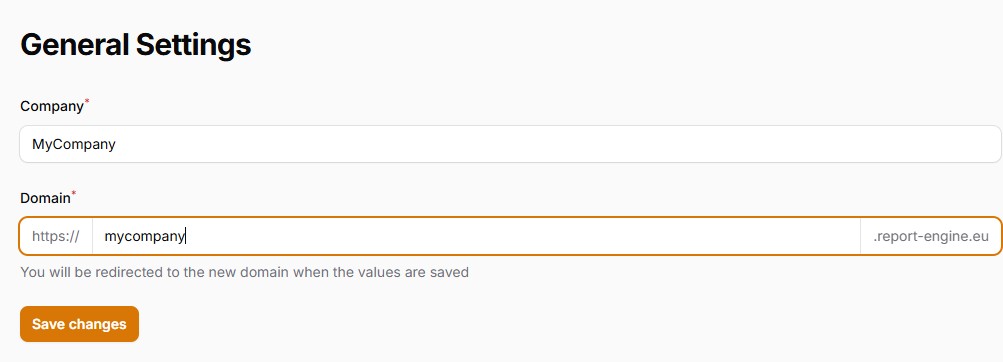
How to set your personal sub-domain
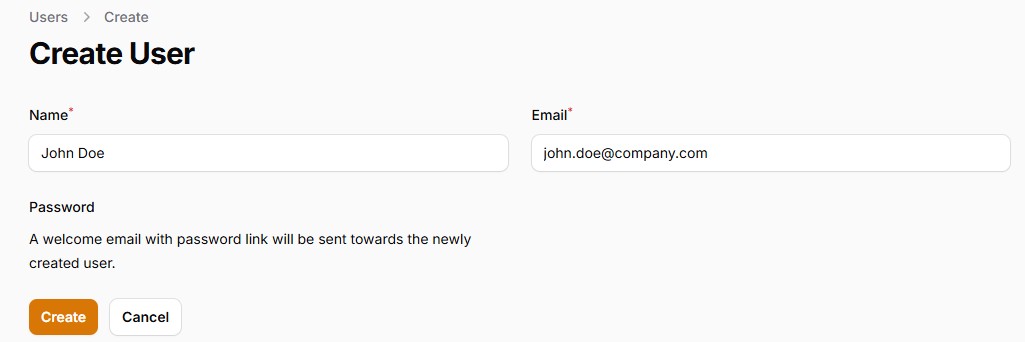
How to add a user